


Spring planting: how to have an abundant harvest from late spring into late fall
/Growing some of your own food has numerous, scientifically proven physical, emotional, and mental health benefits. To anyone who has committed to a healthy lifestyle, it’s no surprise that eating a mostly plant-based diet is better for your health and can help you avoid some common pitfalls of aging, such as developing chronic inflammation and its associated illnesses. In the United States, food gardening is at its highest levels in the past decade, with the largest growth in participation among young households.
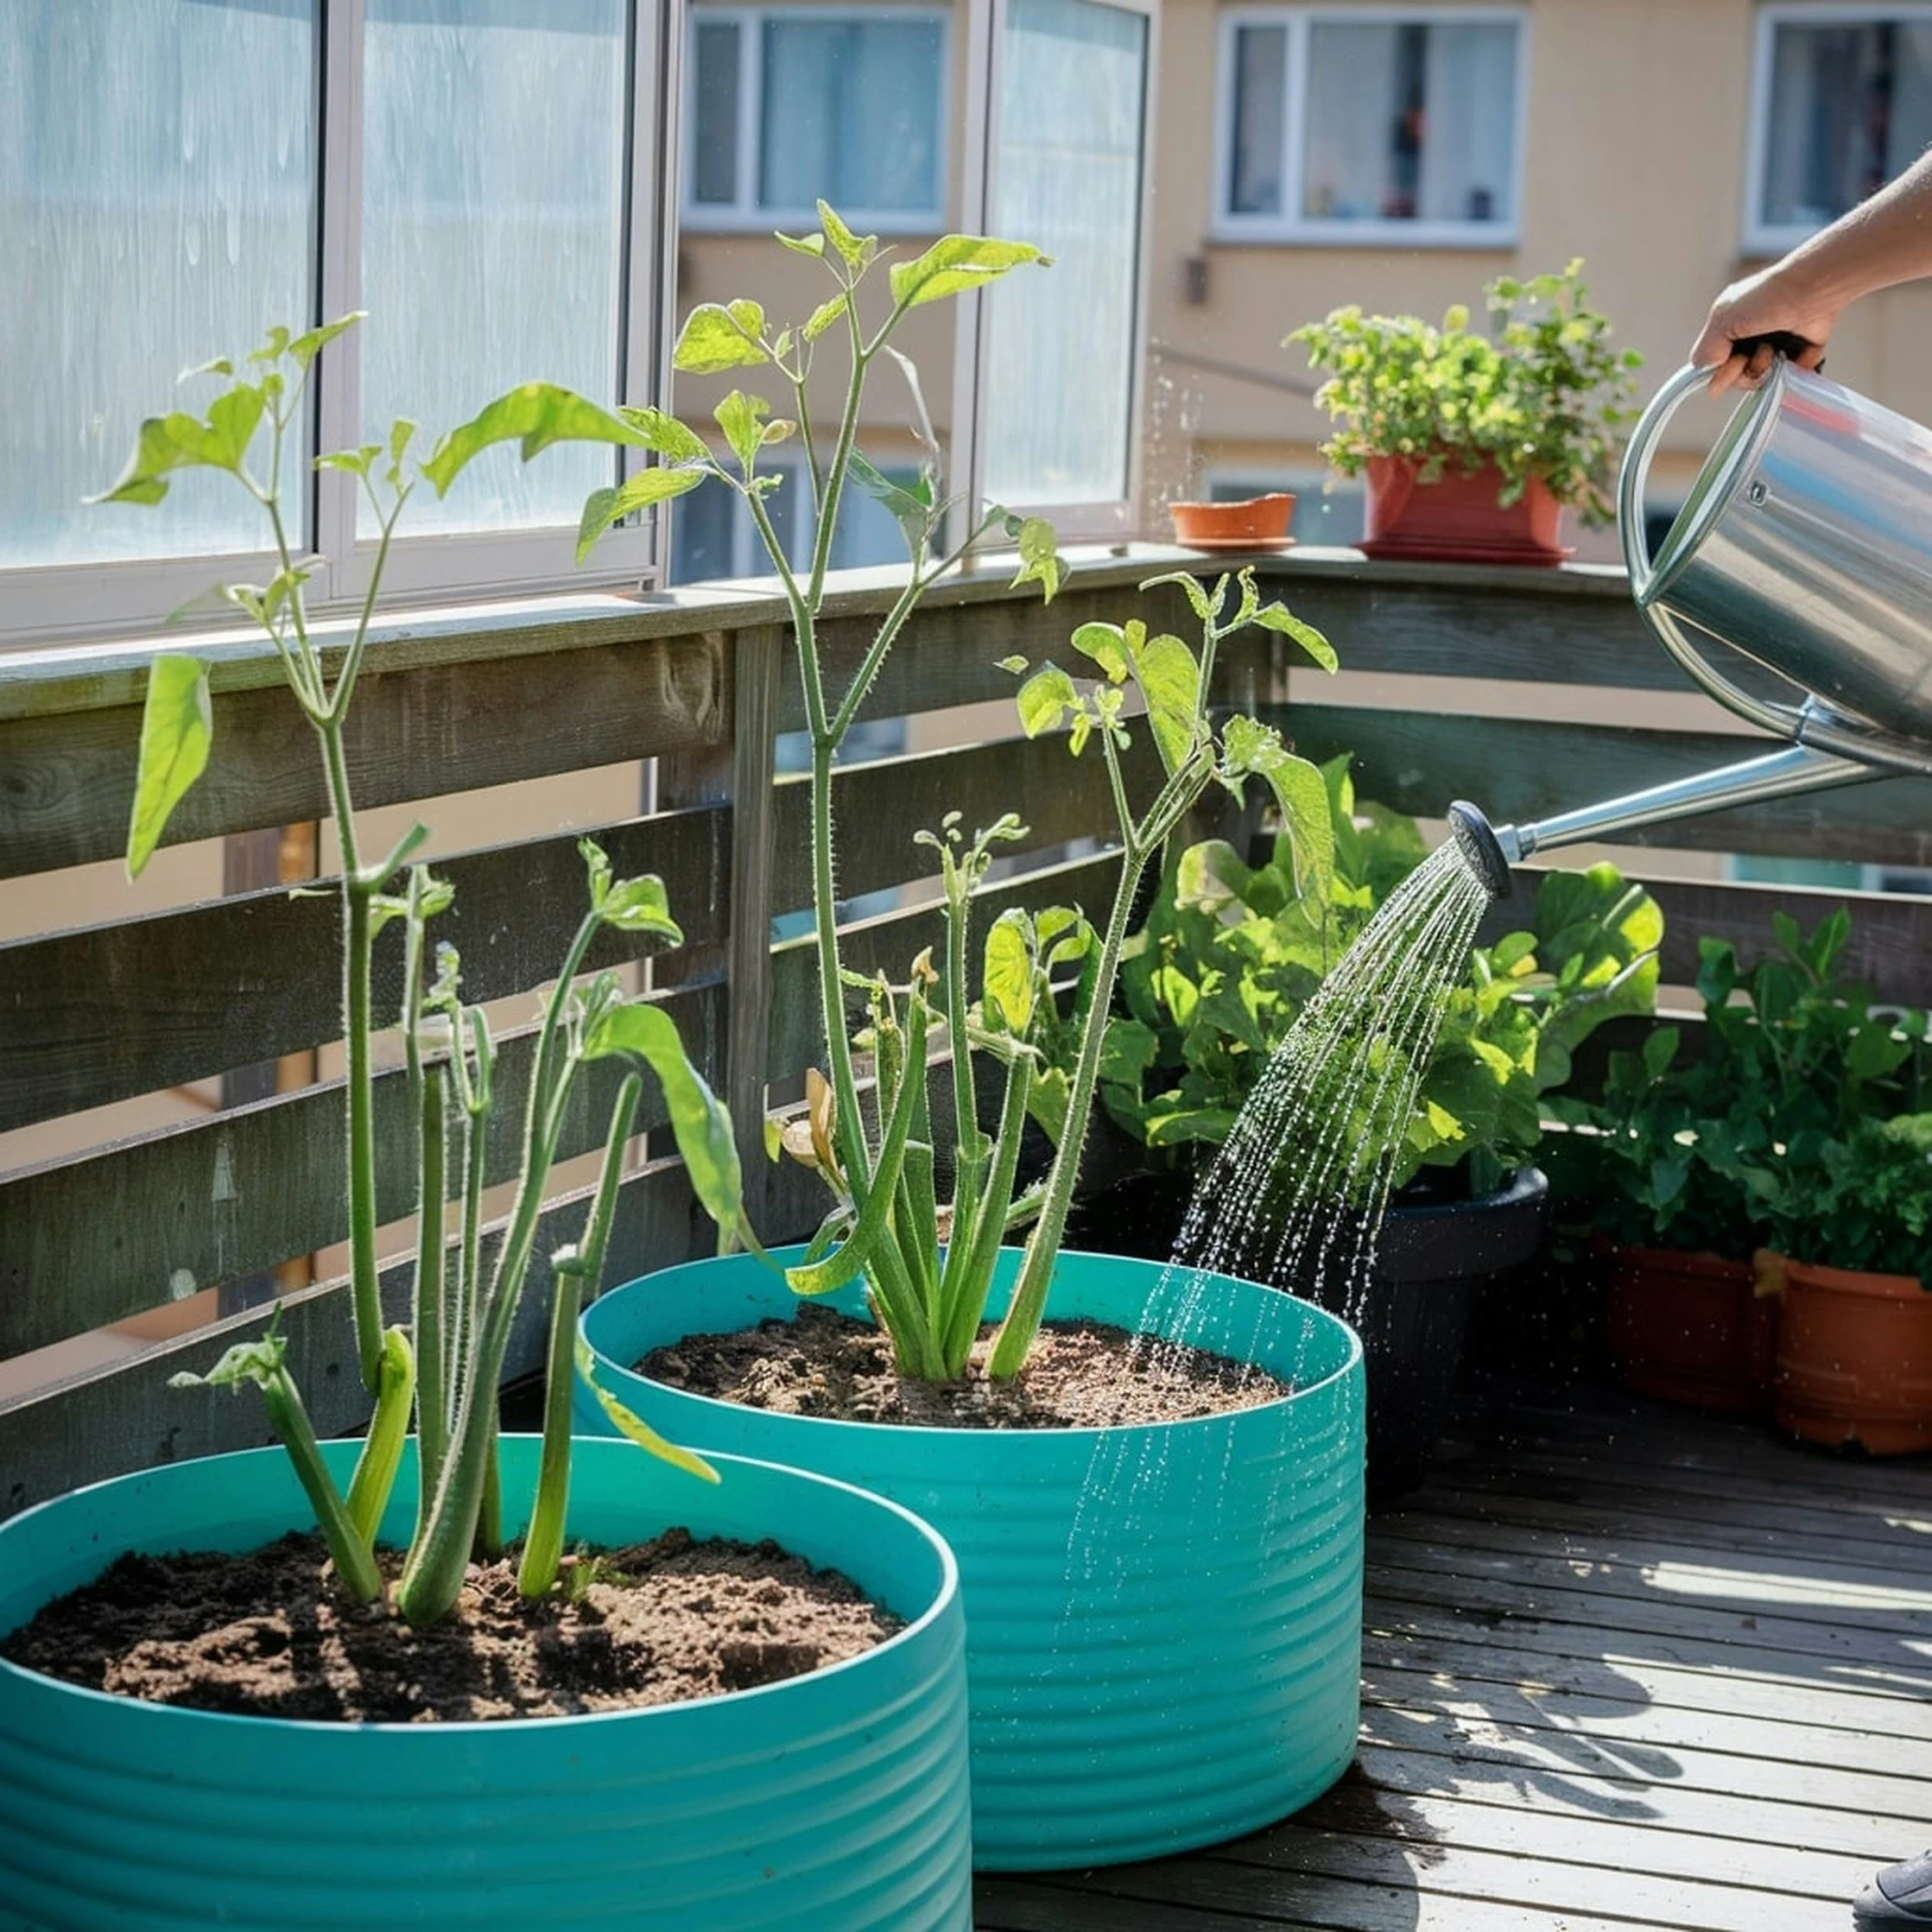
In my book, Go Green without Going Broke, I have written in detail about some of the benefits of growing your own food, and offered advice about how to do so, even if you’ve never grown anything before. Depending on the growing zone you live in, or the equipment at your disposal, you may have already started preparing your vegetable and herb garden by sowing seeds or transplanting seedlings. Today’s post focuses on a few key strategies that I have found to be very effective for reaping an abundant harvest that starts in spring and continues throughout the fall season, producing fresh food for you to enjoy for many months to come.
One: prepare your soil well.

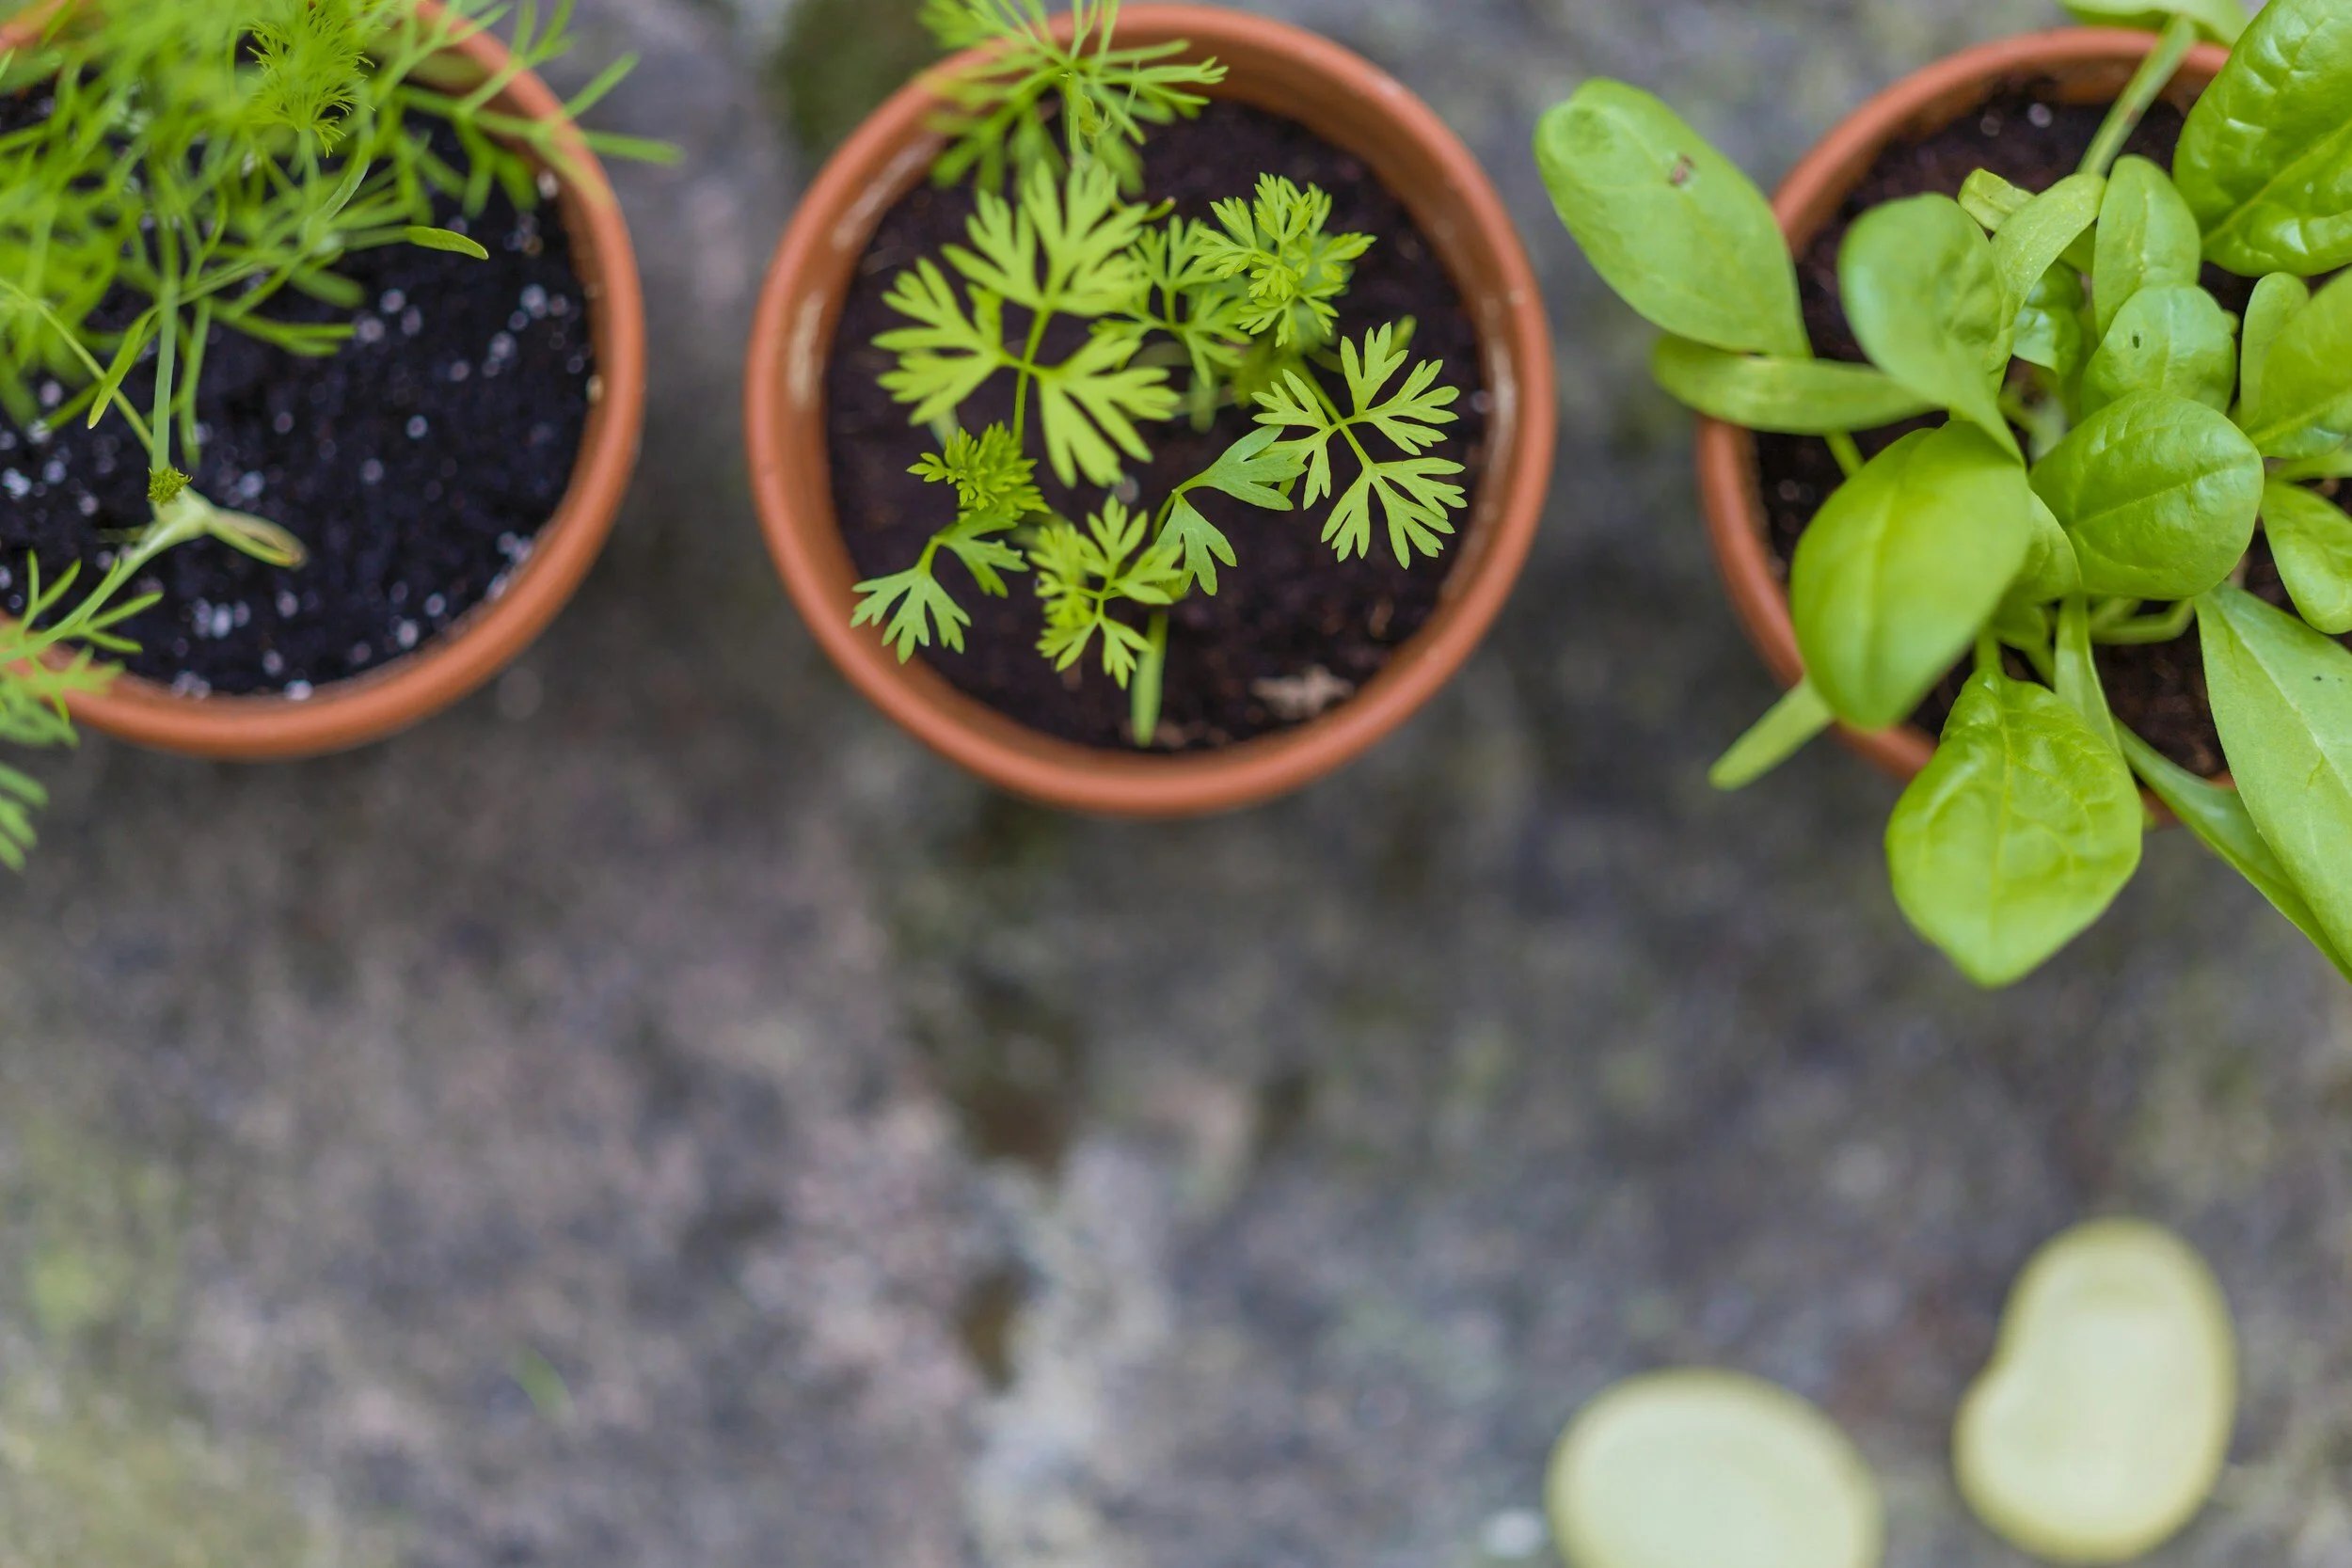
Planting to ensure a good, healthy harvest starts with good soil preparation, a first step that is often overlooked. It’s not enough to put your seed or transplant into the ground; you have to make sure that your crop is going into the most optimal conditions to ensure that it will be able to not only grow, but to fight off pests and disease. Experienced growers know that planting cover crops like hairy vetch, red clover, or rye in the fall will enrich the soil with nutrients naturally. When it’s time to plant your edible crops, just pull the cover crops from the soil or better yet, clip them close to the ground and till them under the soil.
Alternatively, you can take the more expensive and labor-intensive step of adding compost or soil conditioner to the soil to enrich it.
One inexpensive shortcut I used in my beginning growing days was to till the soil first, then add earthworms. The mucus and waste released from these little creatures as they burrow through the soil contain abundant nutrients. You can also buy worm castings and add these to the soil (not cheap depending on the area you are trying to cover), but if you think ahead a little, pick up some live worms from a bait-and tackle shop to do the job for you in a week or less. Keep in mind, though, that earthworms are sensitive to changes in the soil. If you have to use chemical pesticides, do so very sparingly, or try alternative pest management techniques.
If you are container gardening, don’t’ just put soil in the pot directly from the bag (even if it says you can). Instead, to ensure adequate aeration in the soil (so it doesn’t become waterlogged, which can lead to root rot), mix with perlite or vermiculite if it doesn’t already contain these ingredients, compost, or soil conditioner. Commercial soils may contain nutrients, but these will only last a few months at most (and in many cases, these nutrients will not be adequate for your crops) Adding spent coffee grounds (which add nitrogen and are nearly Ph-neutral, contrary to those who claim it makes the soil acidic), eggshells (for calcium) and even Epsom Salts (magnesium) to your soil when transplanting will also do wonders to help your crops along as they grow.
As a general rule you should never reuse potted soil. It may contain dormant pests and microbes that will revive in the warmer months to ravage your plants. Besides that problem, the nutrients in spent soil have been depleted by whatever you grew in there before. However, there are exceptions to this general rule. To kill the pests in the soil, spread it out on a tarp, cover with plastic, and let it sit in the sun for 2-5 days (this works best in hot weather). The heat will kill most, if not all, of these pests, making it less risky to reuse the soil. And without exception, add compost, soil conditioner, or worm castings to previously used soil in order to replenish the nutrients that may have been lost in your previous planting season.
Two: prune vegetable plants you purchase from the nursery
There is still a lot of debate about the wisdom of this method, but I have found that it works well in my container gardens. Pruning transplants works best with certain kinds of plants: (indeterminate) tomatoes, cucumbers, squash, and hot peppers. Most experts say that you should prune selectively, using your fingers, and only prune damaged or discolored leaves. However, I’ve spoken to at least one grower who says you can cut as much as a quarter (some would say even more) from the top of your tomato plants. This will force them to grow dense and bushy, which makes for more tomatoes for you to harvest when they are ready. Others say that pruning only increases the size of the fruit or vegetable, not the yield of the plant. There are a lot of things to consider when pruning for bigger yield, to decrease the possibility of disease, or to save space. This article from www.fix.com has some guidelines for the beginning gardener who wants to try pruning techniques.
Three: feed your plants well, and often (according to their needs)
What to feed: the generic, vegetable plant food, or special blends formulated for maximum growth? And how much of each macro-nutrient (NPK: nitrogen-phosphorous-potassium) should the food contain? This is one of the trickier questions related to growing an abundant harvest, and to be honest, I have mixed feelings on this topic, because there are a number of good choices out there. In fact, it’s easier for me to say what you shouldn’t do, especially if you are a beginning gardener.
Don’t use liquid synthetic fertilizers. You’ll likely end up using too much, and you’ll burn your plants.
I know that it’s tempting to just strap that bottle-and-nozzle on your garden hose, spray, and forget, but trust me, this is NOT the best way to have a healthy, abundant harvest. There are some good options out there that are only a little more labor intensive, and are less (potentially) harmful to your plants.
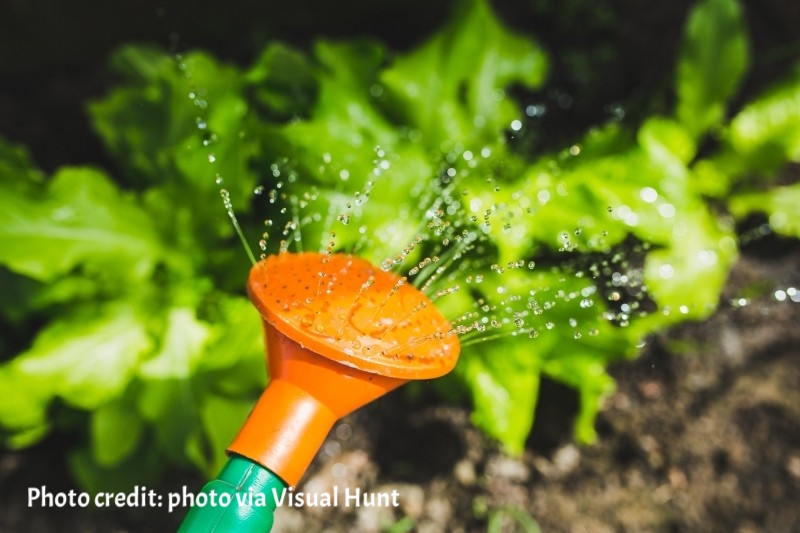
If you’re not sure how much to use, go with the slow-release granular fertilizer. I use organic fertilizer (sometimes the generic, for-all-vegetables variety, but always tomato food for my tomato plants). Work the granules loosely into the top layer of soil using a triple claw cultivator, then water. At the height of their growing season, when the weather is warm, I fertilize at least once a week for container gardening. You can go as long as a couple of weeks with in-ground gardening, although it won’t hurt the plant if you fertilize more frequently using granules. It’s easier to over-fertilize even with organic liquid nutrients, so I’d advise beginning gardeners to follow the instructions on the bottle if you go with liquid, or ask for advice from your local nursery.
Some people (including myself) swear by liquid fish emulsion. I used to use this a lot when I first began growing vegetables, and had abundant yields (when I lived in Seattle and in Berkeley California). Then I stopped using it for no particular reason. This fall and I began using it again (in a 5-1-1 concentration) for my winter garden (in the metro Washington DC area, where I grow year-round outdoors), and my leafy greens have never been so tasty or so plentiful! The smell of the fish emulsion is not very pleasant, but for foliar crops like spinach, kale, and chard, it can make the difference between an ok harvest and a fabulous one. I use it once a week throughout the growth state when gardening in winter and the late fall and twice a week in the spring, summer, and early fall months.
For my non-leafy veggies (tomatoes, eggplants, green beans, etc.), we’ll see: I plan to start out with fish emulsion then switch to one of two different varieties: 1) compost tea made from worm castings and 2) a broad spectrum liquid organic fertilizer. I’m not sure which will work best, so I’ll do a little experimenting and will be sure to report my findings to you.
Four: boost your plants’ immune systems.
Admittedly, I still have much to learn about how the immune systems of plants work. But since it looks like I won’t be traveling tis summer to the world’s largest solar power plant in Ouarzazate, Morocco to do research for my book (my day job requires me to publish academic books and articles every year), I can devote more time to learning some new growing techniques.
I have been absolutely fascinated with the mechanics of plant immunology since reading about the Amish farmers who have learned how to use the immune system of plants to eliminate the need for chemical pesticides. It’s no secret that there are plenty of problems with the industrial agriculture complex, and overuse of pesticides is one of them. Every so often, commercial agriculturalists are forced to use more potent pesticides and herbicides. Sometimes these applications just can’t prevent major crop loss. They do, however, make their way into rivers, streams, and our drinking water, aside from contaminating the produce we eat.
Alternative to use/oversue of (synthetic or organic) pesticides is feeding your plants with micronutrients (beneficial microbes). These can be fed directly into the soil when watering, or applied as a foliar leaf spray. A little goes a long way and as with anything else, overuse of micronutrients will damage the plants.
This year I’m trying something new: adding EM1 Soil Enzymes and compost tea to the soil and using EM1 as a foliar spray. EM1, or (Effective Microbes 1) is a product that adds beneficial microorganisms to the soil, improving its structure and making it less hospitable to pests, pathogens, and diseases. Compost tea contains microorganizims that, when used properly, multiply rapidly, fertilizing your plants and helping them fend off diseases and pests. It offers a more potent fertilizer than adding compost to the soil will provide.
Boosting plants’ own immune systems has a lot to do with planting them in the most ideal conditions. So, once again, starting off with healthy soil is the best way to ensure an abundant harvest that is better able to withstand disease, pests, and grow to its optimal best!
Want to learn more about growing your own food? Go Green without Going Broke contains plenty of tips on how to get started, along with other advice and tools for your healthy lifestyle. Click the link below to find out more and to purchase the book.